Aurlandsdalen — Hiking Trips From London
March 16, 2023
In August 2016, we did a four day hike through the Aurlandsdalen region in Norway, using only a long weekend and two additional days off either side. We also managed to do it fairly inexpensively. The hike starts near the filming location of The Empire Strike Back, and finishes with a lovely walk along the Aurlandsdalen valley. You walk past glaciers, along rocky terrain, down along rivers, and past waterfalls. If you’re looking for a multi day hike only a short flight from London, this may be for you.
The Hike
The hike is a 3 or 4 day hike of medium difficulty, covering 54 kilometres. It starts at the train station in Finse, and ends at a bus stop in Vassbygdi. There are huts at Geiterygghytta, at the end of the first day, and in Østerbø at the end of the 2nd (or 3rd) day. There used to be a hut in between these two, at Steinbergaten, however it is now abandoned. In total, you drop 1600m, with Sankt Pål being the highest point of the hike at 1694 meters on the first day, and the last day finishing up at 94 meters in Vassbygdi.
There are three ways of doing this hike. If you decide to take a tent and your own cooking gear, you’re able to camp at Steinbergdalen at the end of day 2. This makes it possible to do the 54 km in 4 days. If you wish to only stay in the huts, you will need to either do the hike in 3 days instead of four, necessitating a 25 km walk on the 2nd day. Or you can take a slightly different route and stay at the hut at Kongshelleren. This will change the route of the hike on the 2nd day. Information on Norwegian hiking huts can be found at https://www.ut.no/. Make sure you check the information on the hut you are planning on staying at before you leave.
We did this hike in four days, using our tent to camp along the way. Norway allows you to camp anywhere in the wilderness as long as it is 150 metres away from the nearest inhabited house or cabin, is not fenced land, and for no more than 2 nights in the same spot. This allows you to camp for the entire hike if you want to save a bit of money. There is more information on the Visit Norway site on the Norwegian camping laws.
Getting There and Back
Both Finse and Flåm are accessible by train from Bergen or Oslo. We chose to fly into Bergen the night before on a Norwegian Airlines flight, and fly out from Oslo with Ryanair. You could easily fly into and out of Bergen, however it’s nice to see all of the Bergen to Oslo rail line. Flying into Oslo would make it difficult to get to Finse in time to start the hike. On day one of the hike, we took the train from Bergen to Finse, leaving slightly before 8am, and arriving at Finse a bit after 10. On the last day, we stayed overnight in Flåm, and booked the second train that morning heading up to the Bergen to Oslo line, and then on to Oslo. This gave us just barely enough time to get to Oslo Rygge airport before 6:30pm. I highly encourage anyone with the misfortune of flying out of Rygge to double and triple check the bus timetable leaving from the closest train station to the airport. If you’re leaving from the main airport in Oslo, you might find this a more relaxing day.
NSB sell tickets in advance for a discount called Minipris. They have a set number per month, and they sell out quickly. Watch the NSB website for deals.
Things you may need
We did this hike using the Aurlandsdalen 1:50000 map by Turkart. The 1:25000 map misses off the first half of the first day. There are signs on the trail, so if you want one map to cover all of the hike, the 50k map is fine. We also used the Cicerone Walking in Norway guide for this hike.
We took a steripen, and only a few litres of water each with us at the start of the day, and had no trouble filling up in late August.
Cooking gas was one of the more difficult things to procure for this hike. We ordered a small canister from Platous Sports. They delivered it to our hostel (the Basic Hostel in Bergen), and it was there in our room when we arrived. Make sure you order the gas with enough time for it to be delivered. And make sure you bring along a gas canister recycling tool so you can dispose of (or recycle) the canister at the end of the trip.
Day One
The train ride to Finse is quite spectacular. Once you get out at Finse, you head across the tracks and there’s a gate on the left side (when looking across the tracks) of the station guiding you to the start of the trail. The trail is well marked, and easy to follow. Our first day of the hike was very wet, and so sadly did not take many photos. At least in late August, the path crosses into sections of ice a number of times. We had hiking poles, and were fine doing these crossings with hiking boots. There’s a hut along the way marked Klemsbu on the map that makes for a very good lunch spot. In late August, the hut will be unmanned, but you will still be able to enter it to get shelter if required.
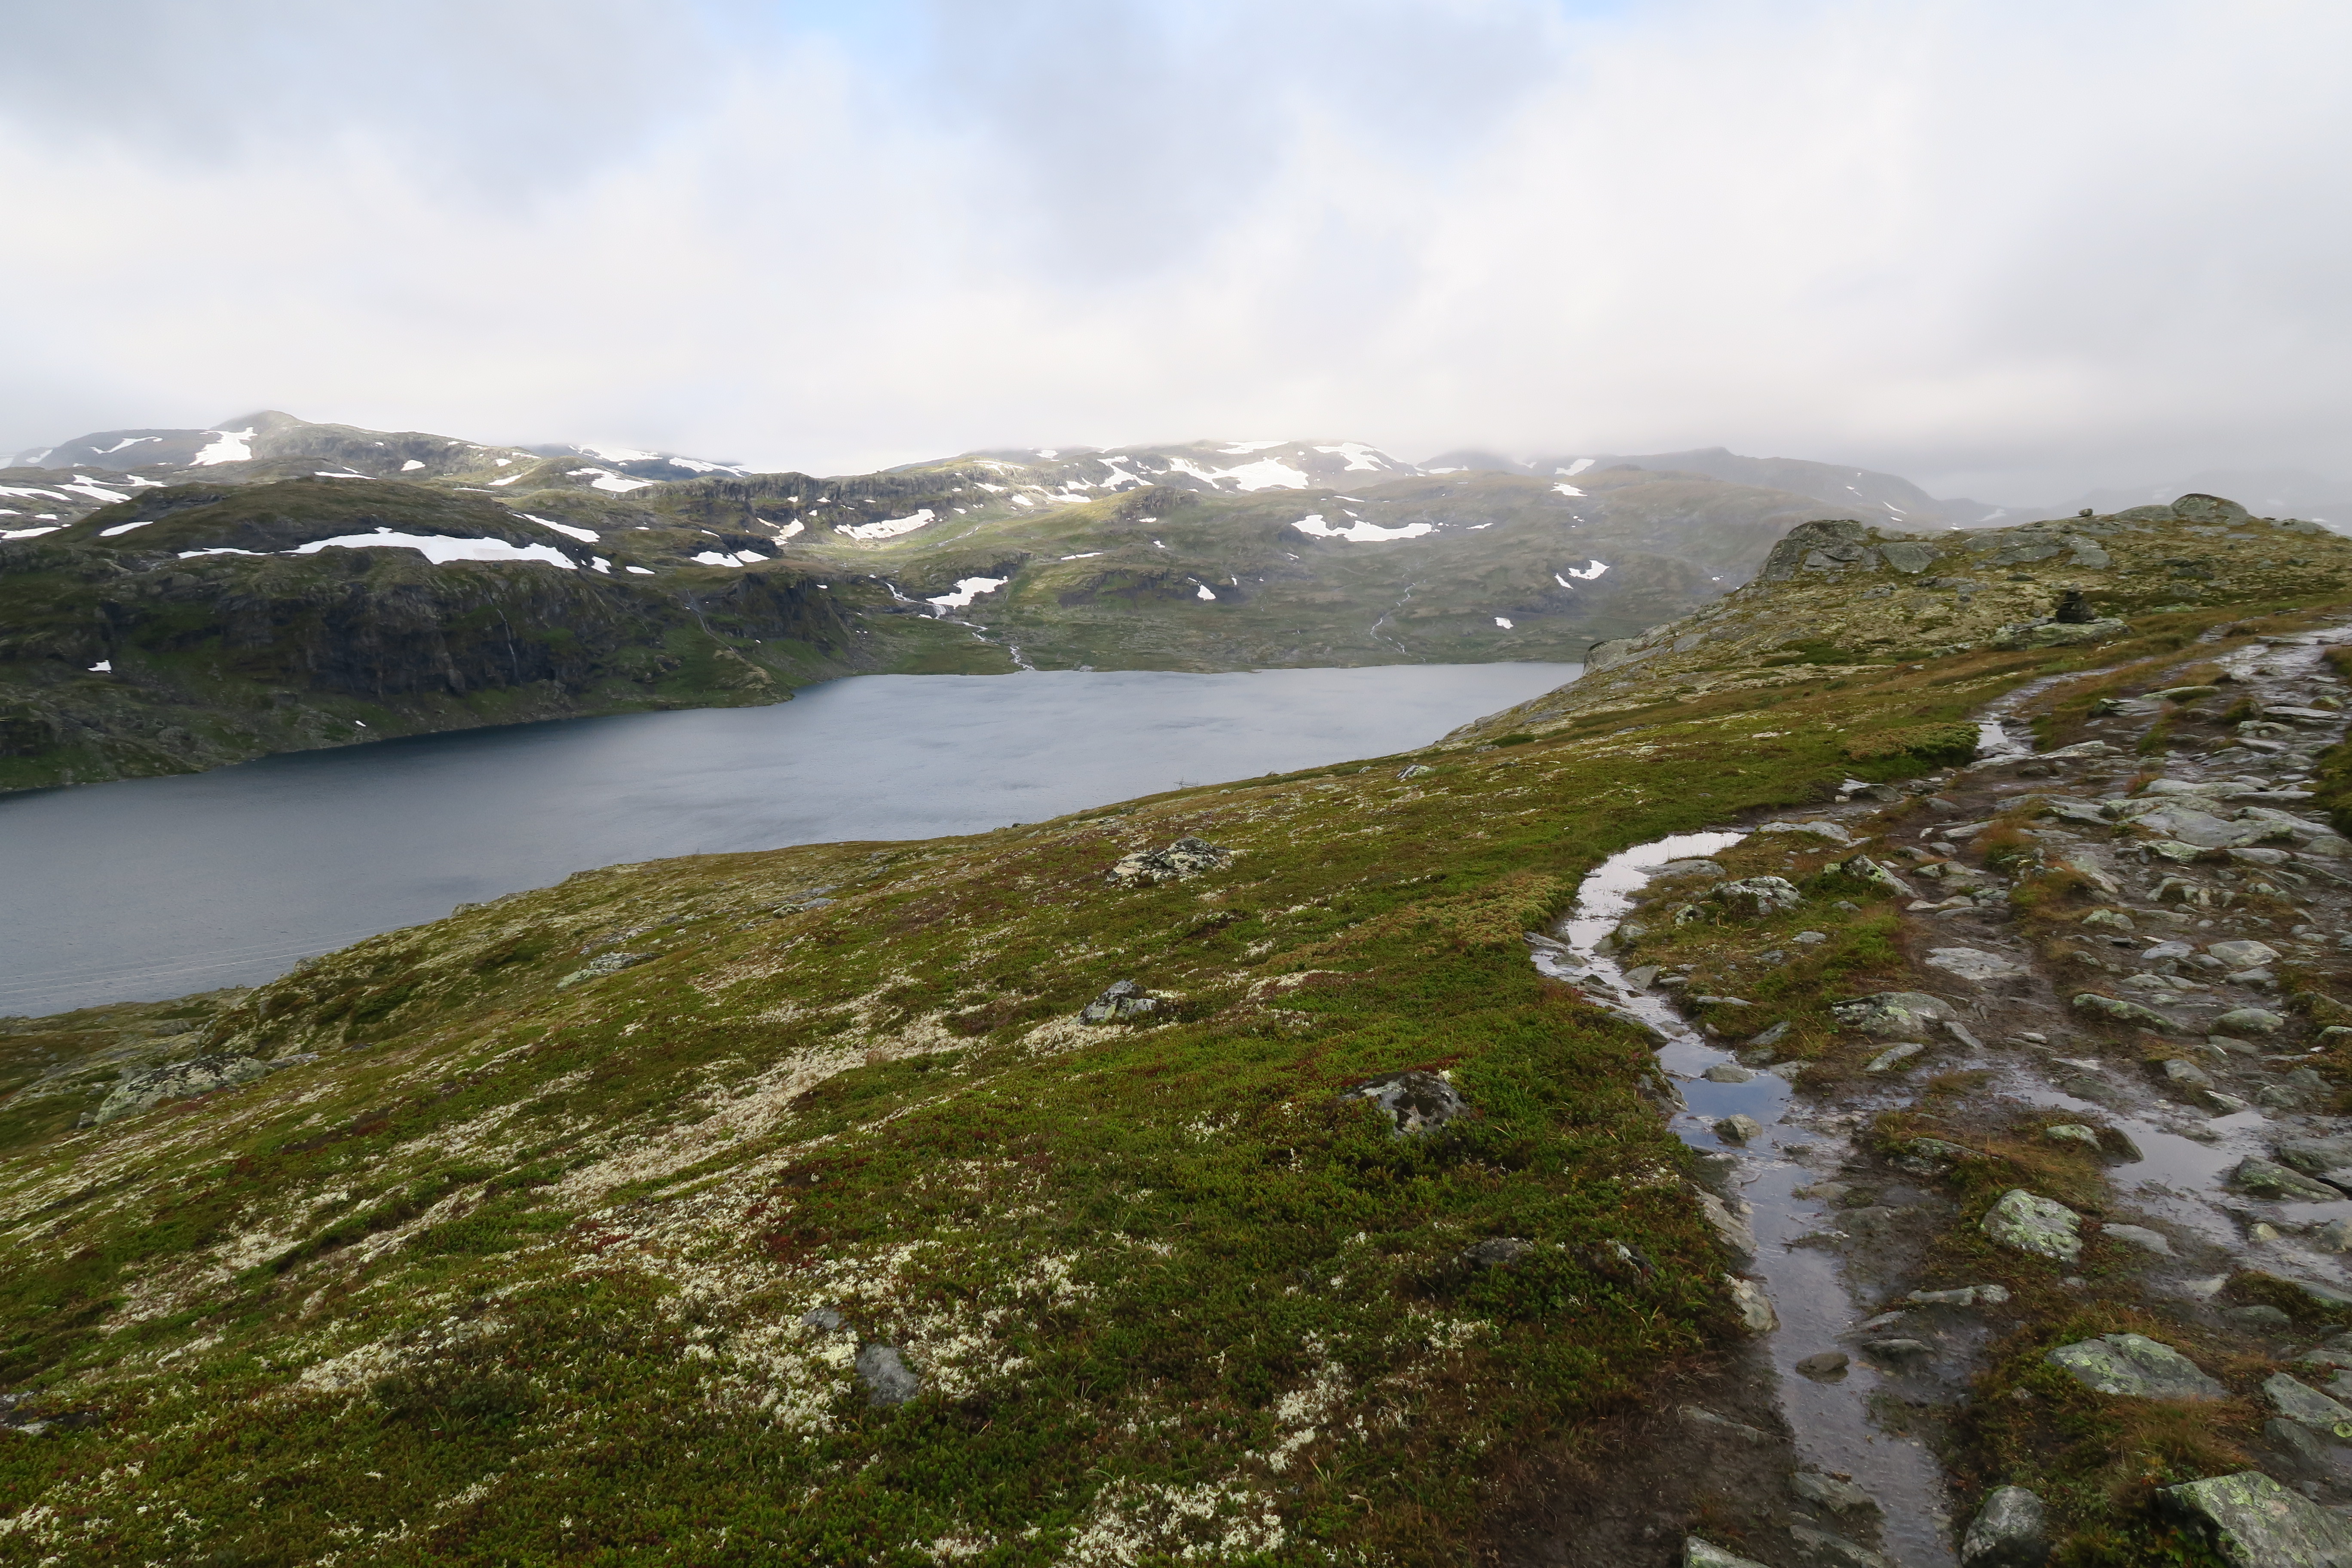 Lake near Finse on Day 1.
When we neared the huts at Geiterygghytta, there were a few waist river crossings we had to wade through. Once near the hut, we turned right down the 4wd access track for a while and found a sheltered spot to put up the tent out of the wind. I believe that it’s possible to buy dinner at the huts without staying there, although we did not test this out ourselves.
Day Two
If you’re doing this hike in four days instead of three, then day two is fairly relaxing. This is the day you see the snow and ice that was around Finse slowly disappear and be replaced with trees as you head further down towards the valley. We chose a good spot to camp a bit further on from the abandoned huts at Steinbergaten. This is the only time you come down near the road.
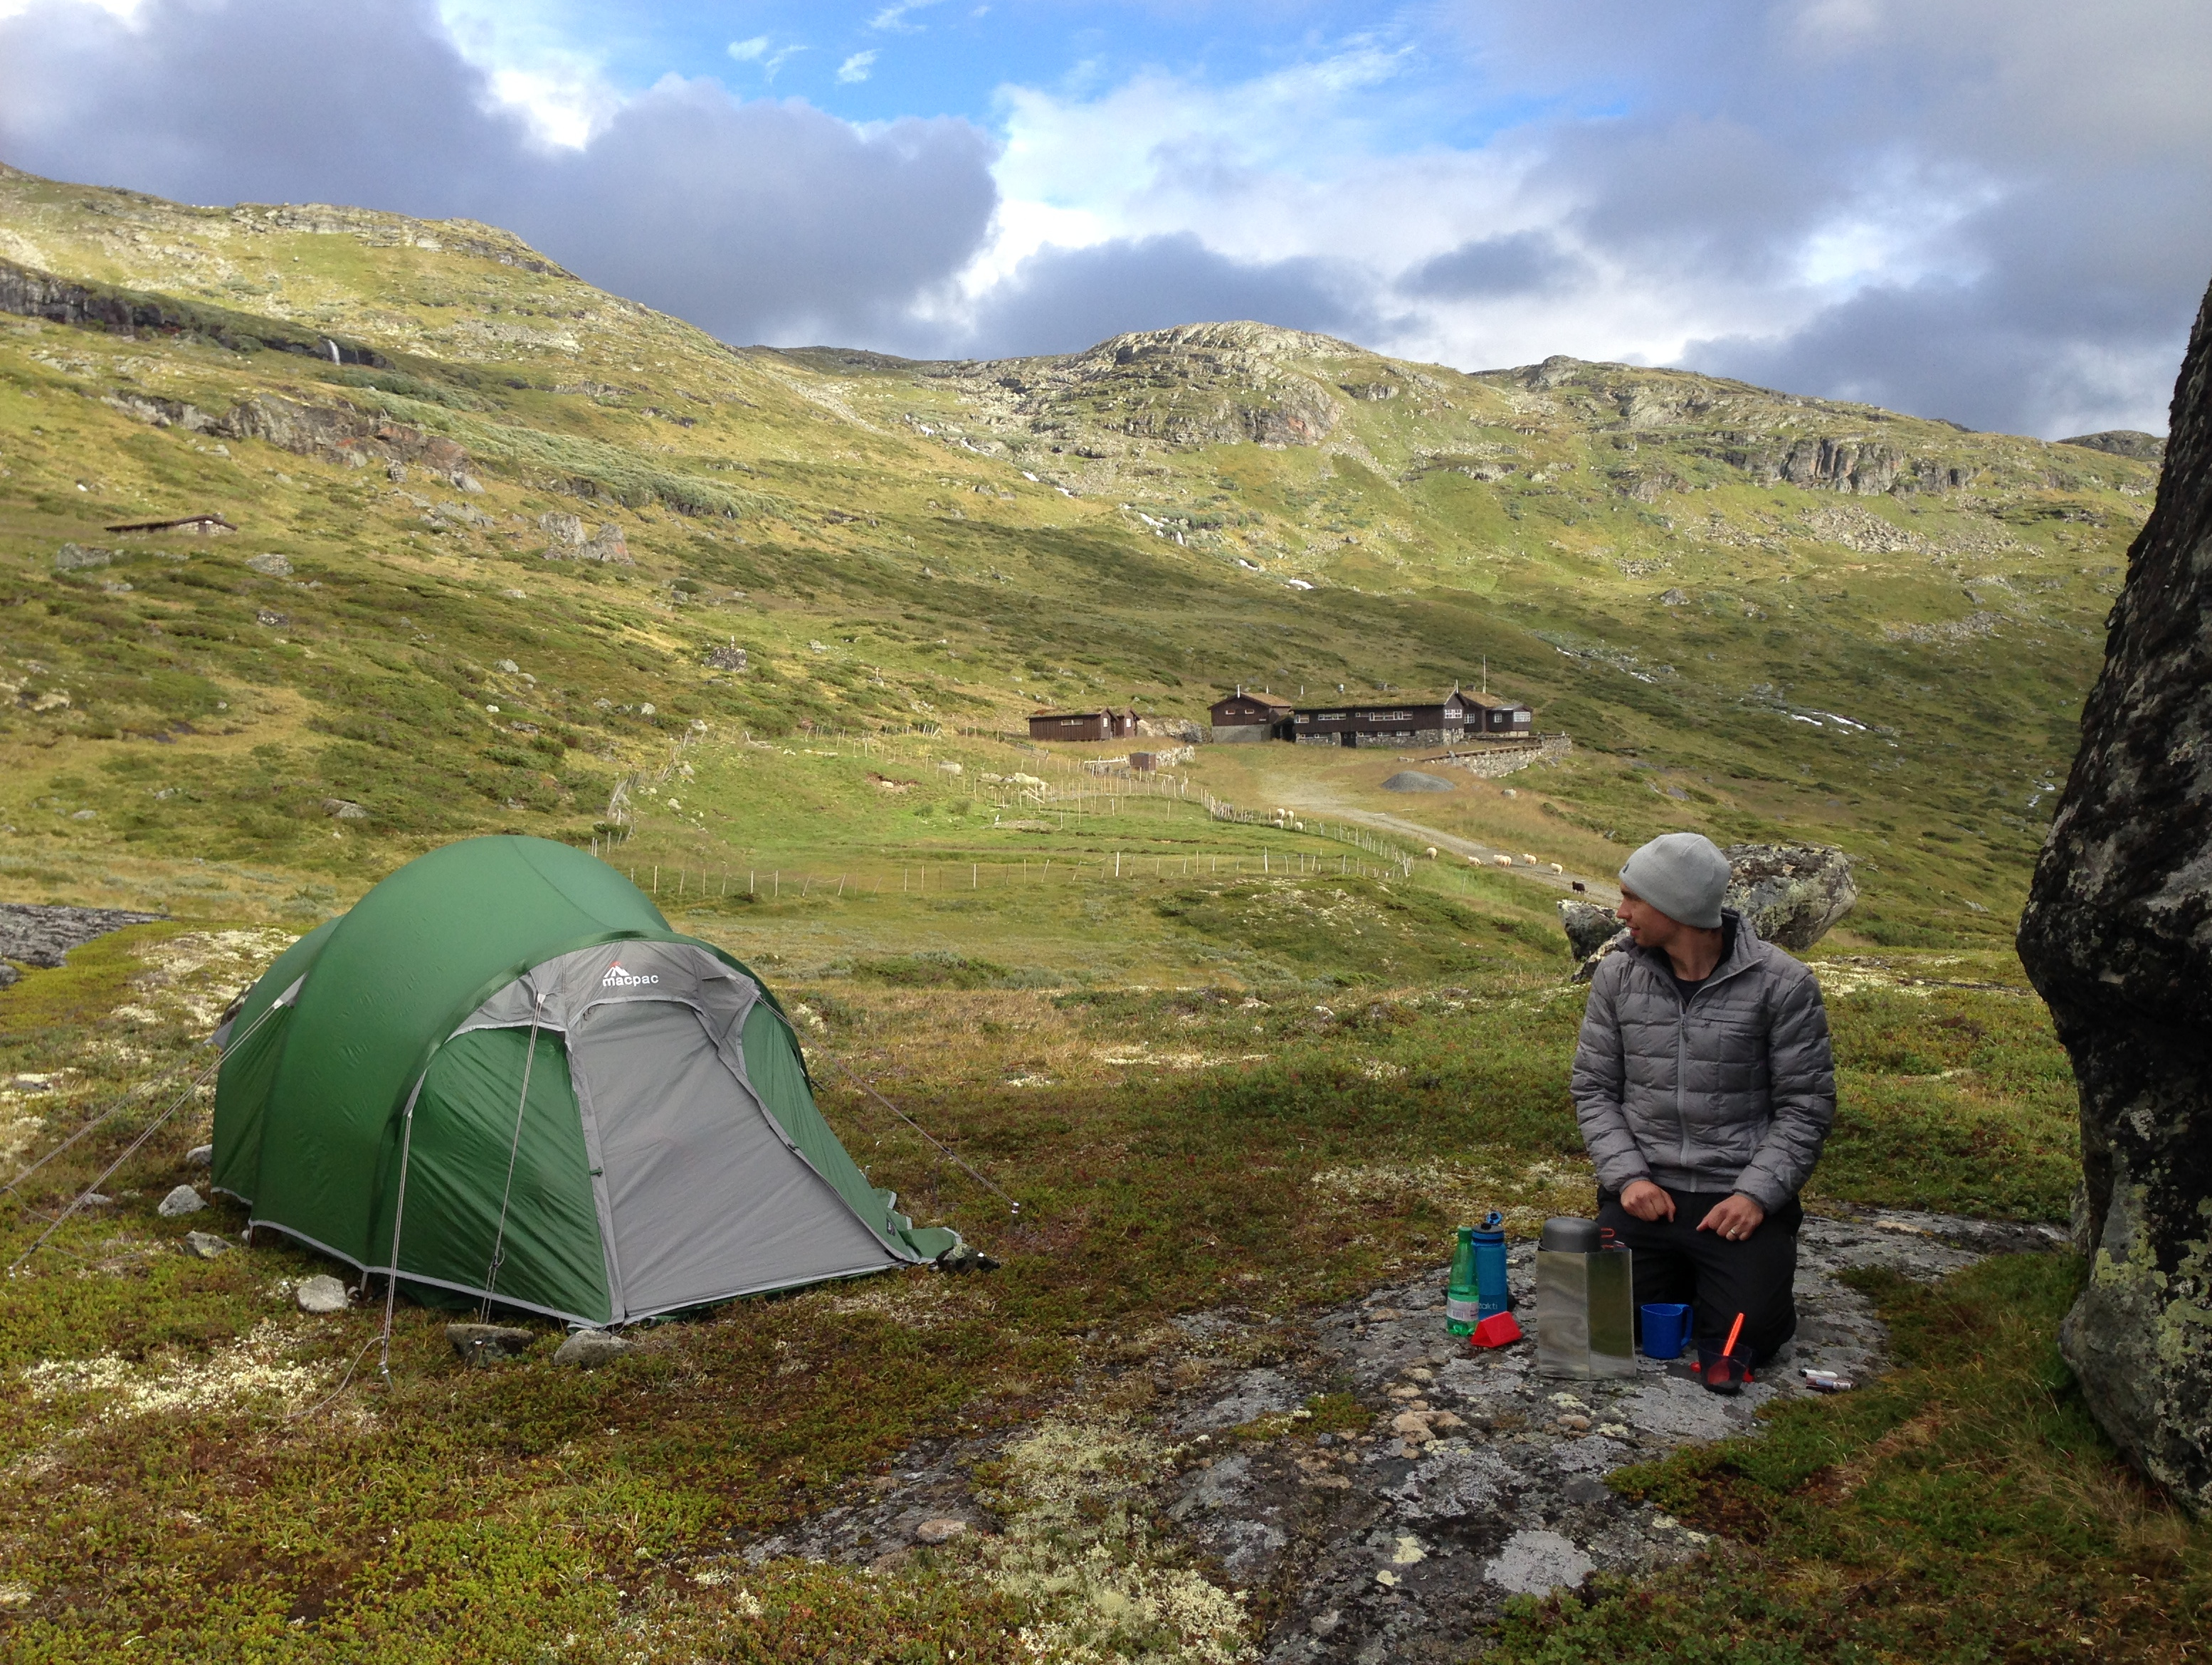 Camping near the Steinbergaten huts.
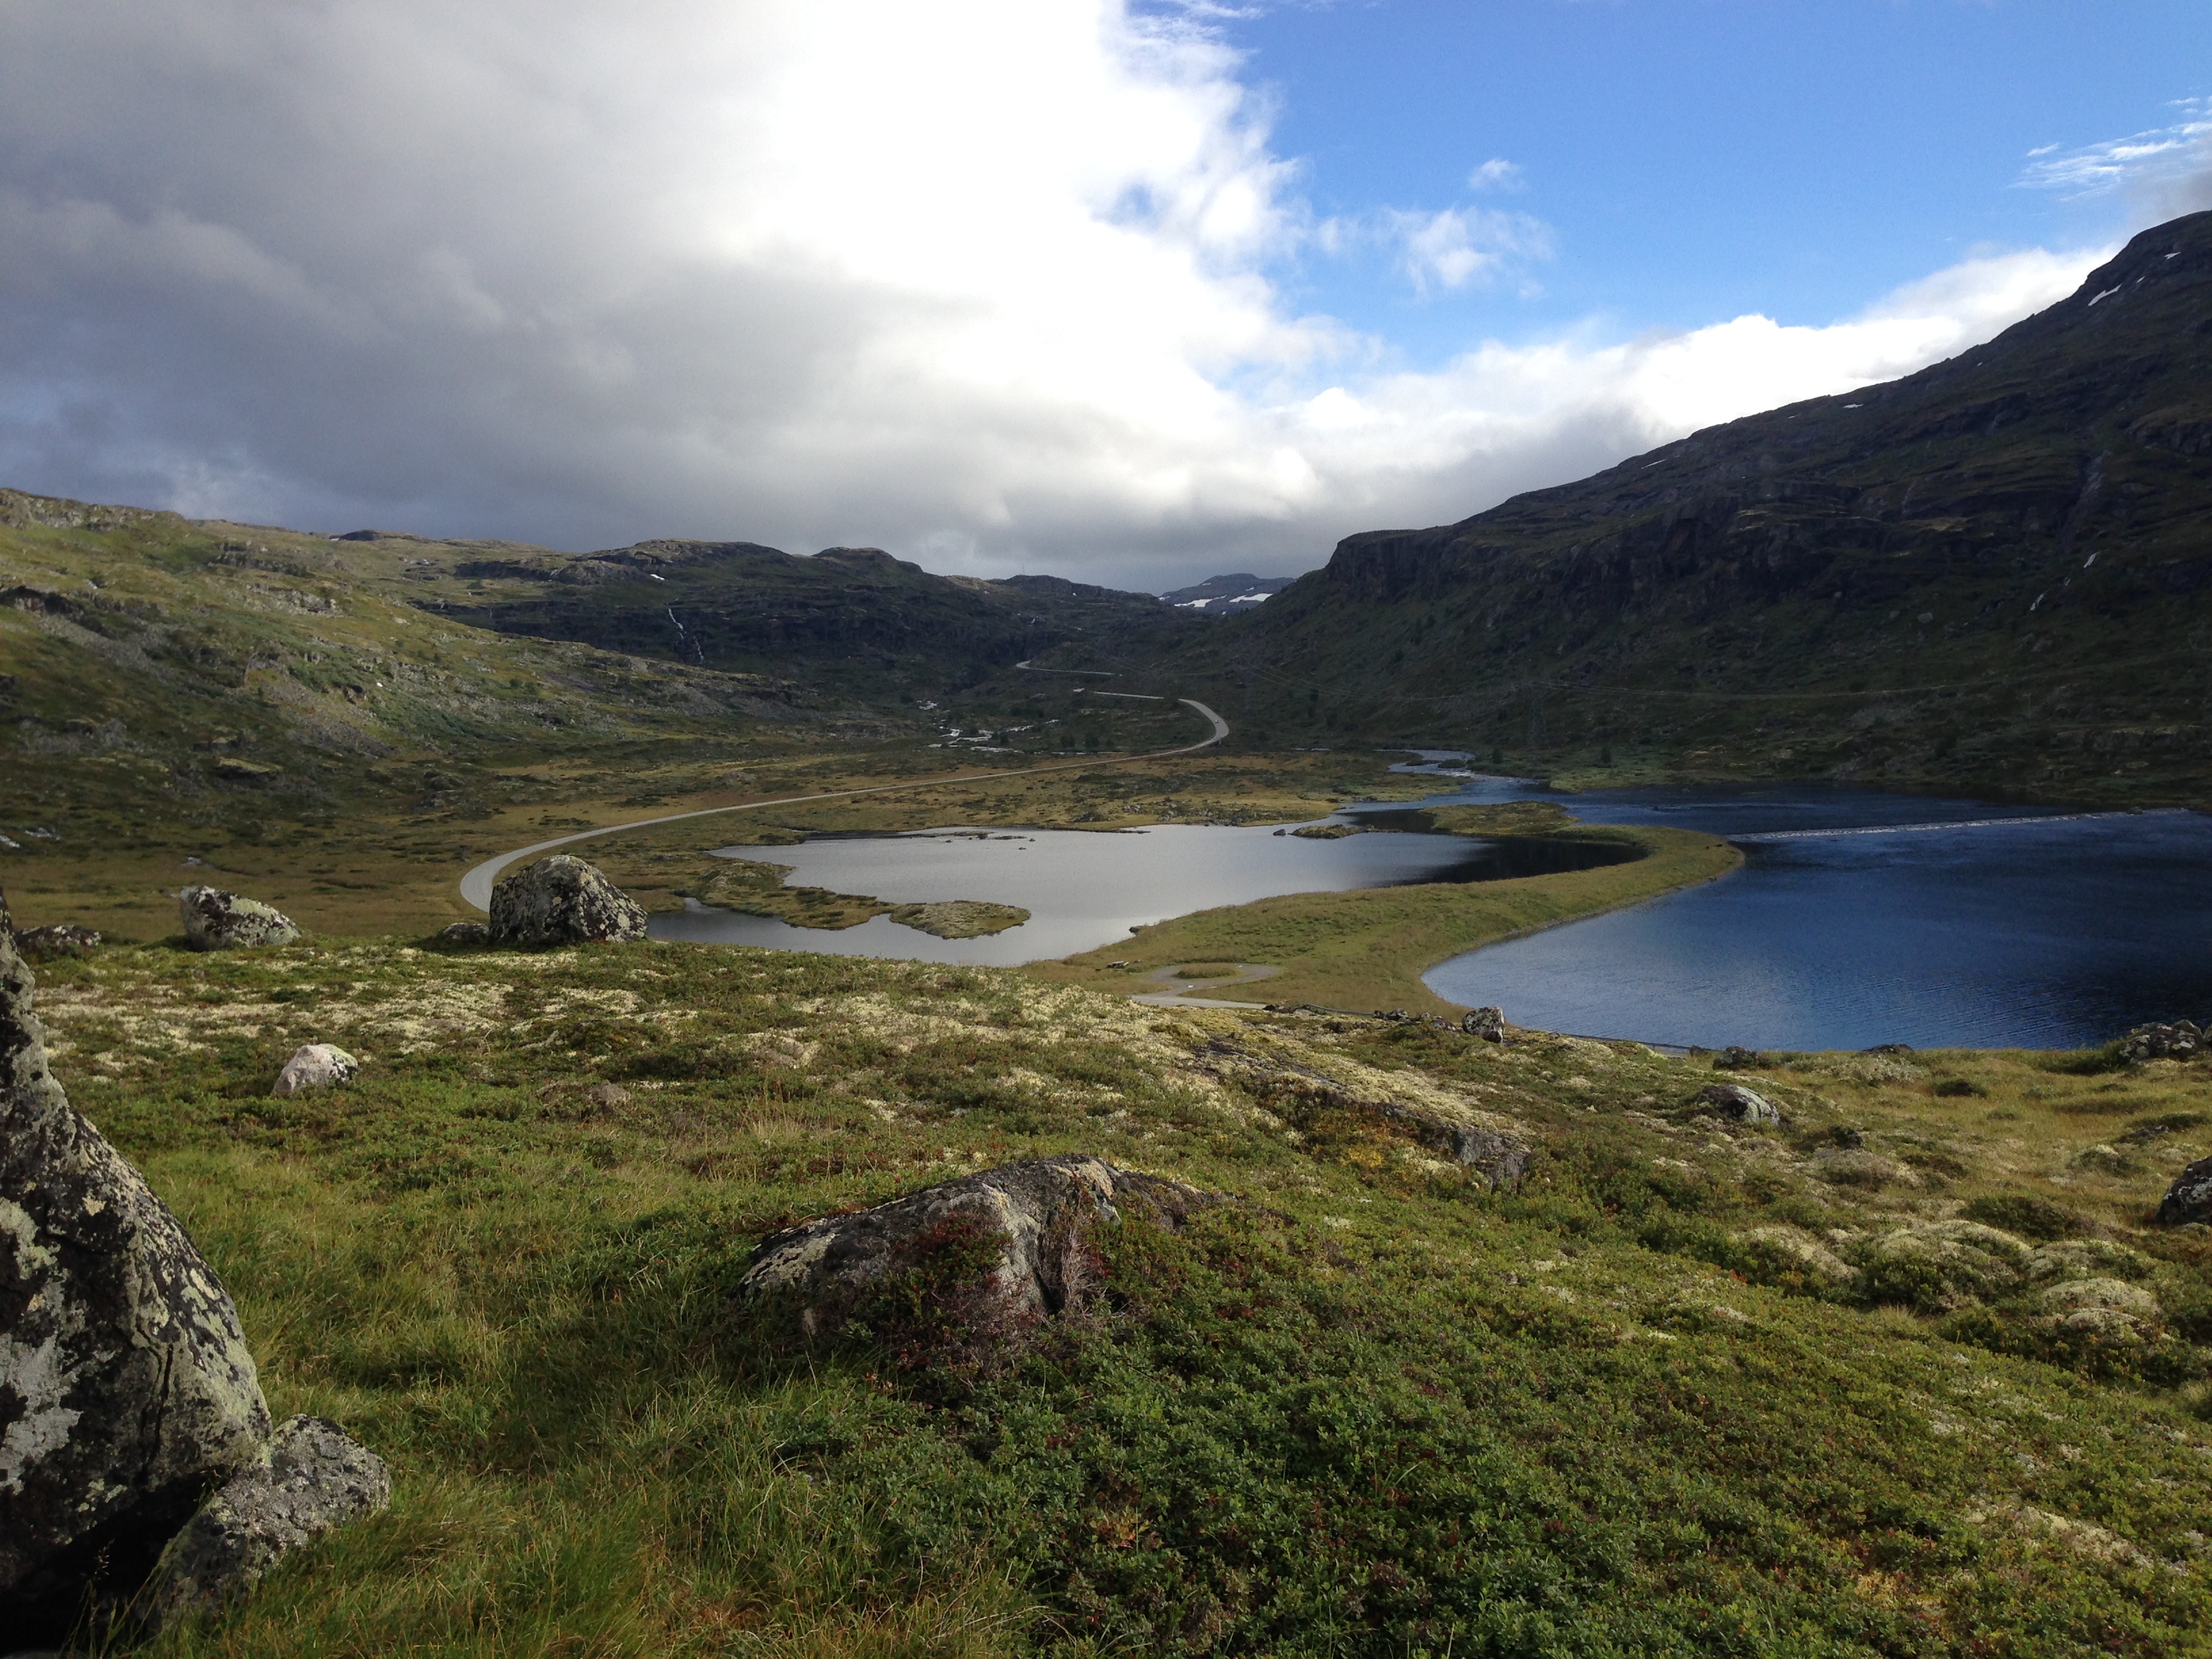 View near the huts.
Day Three
Day three will take you down to Østerbø. The trail starts back near the Steinbergaten huts, and heads up into the hill behind the huts. It’s a longer hike than day two, but not by a whole lot. Østerbø itself is very obvious when you get close. There are a number of places you’re able to stay, including a few camping grounds. We didn’t bother to book anything, and had plenty of options. There’s food, as well as beer in Østerbø, although it’s not cheap. The camping grounds are quite affordable.
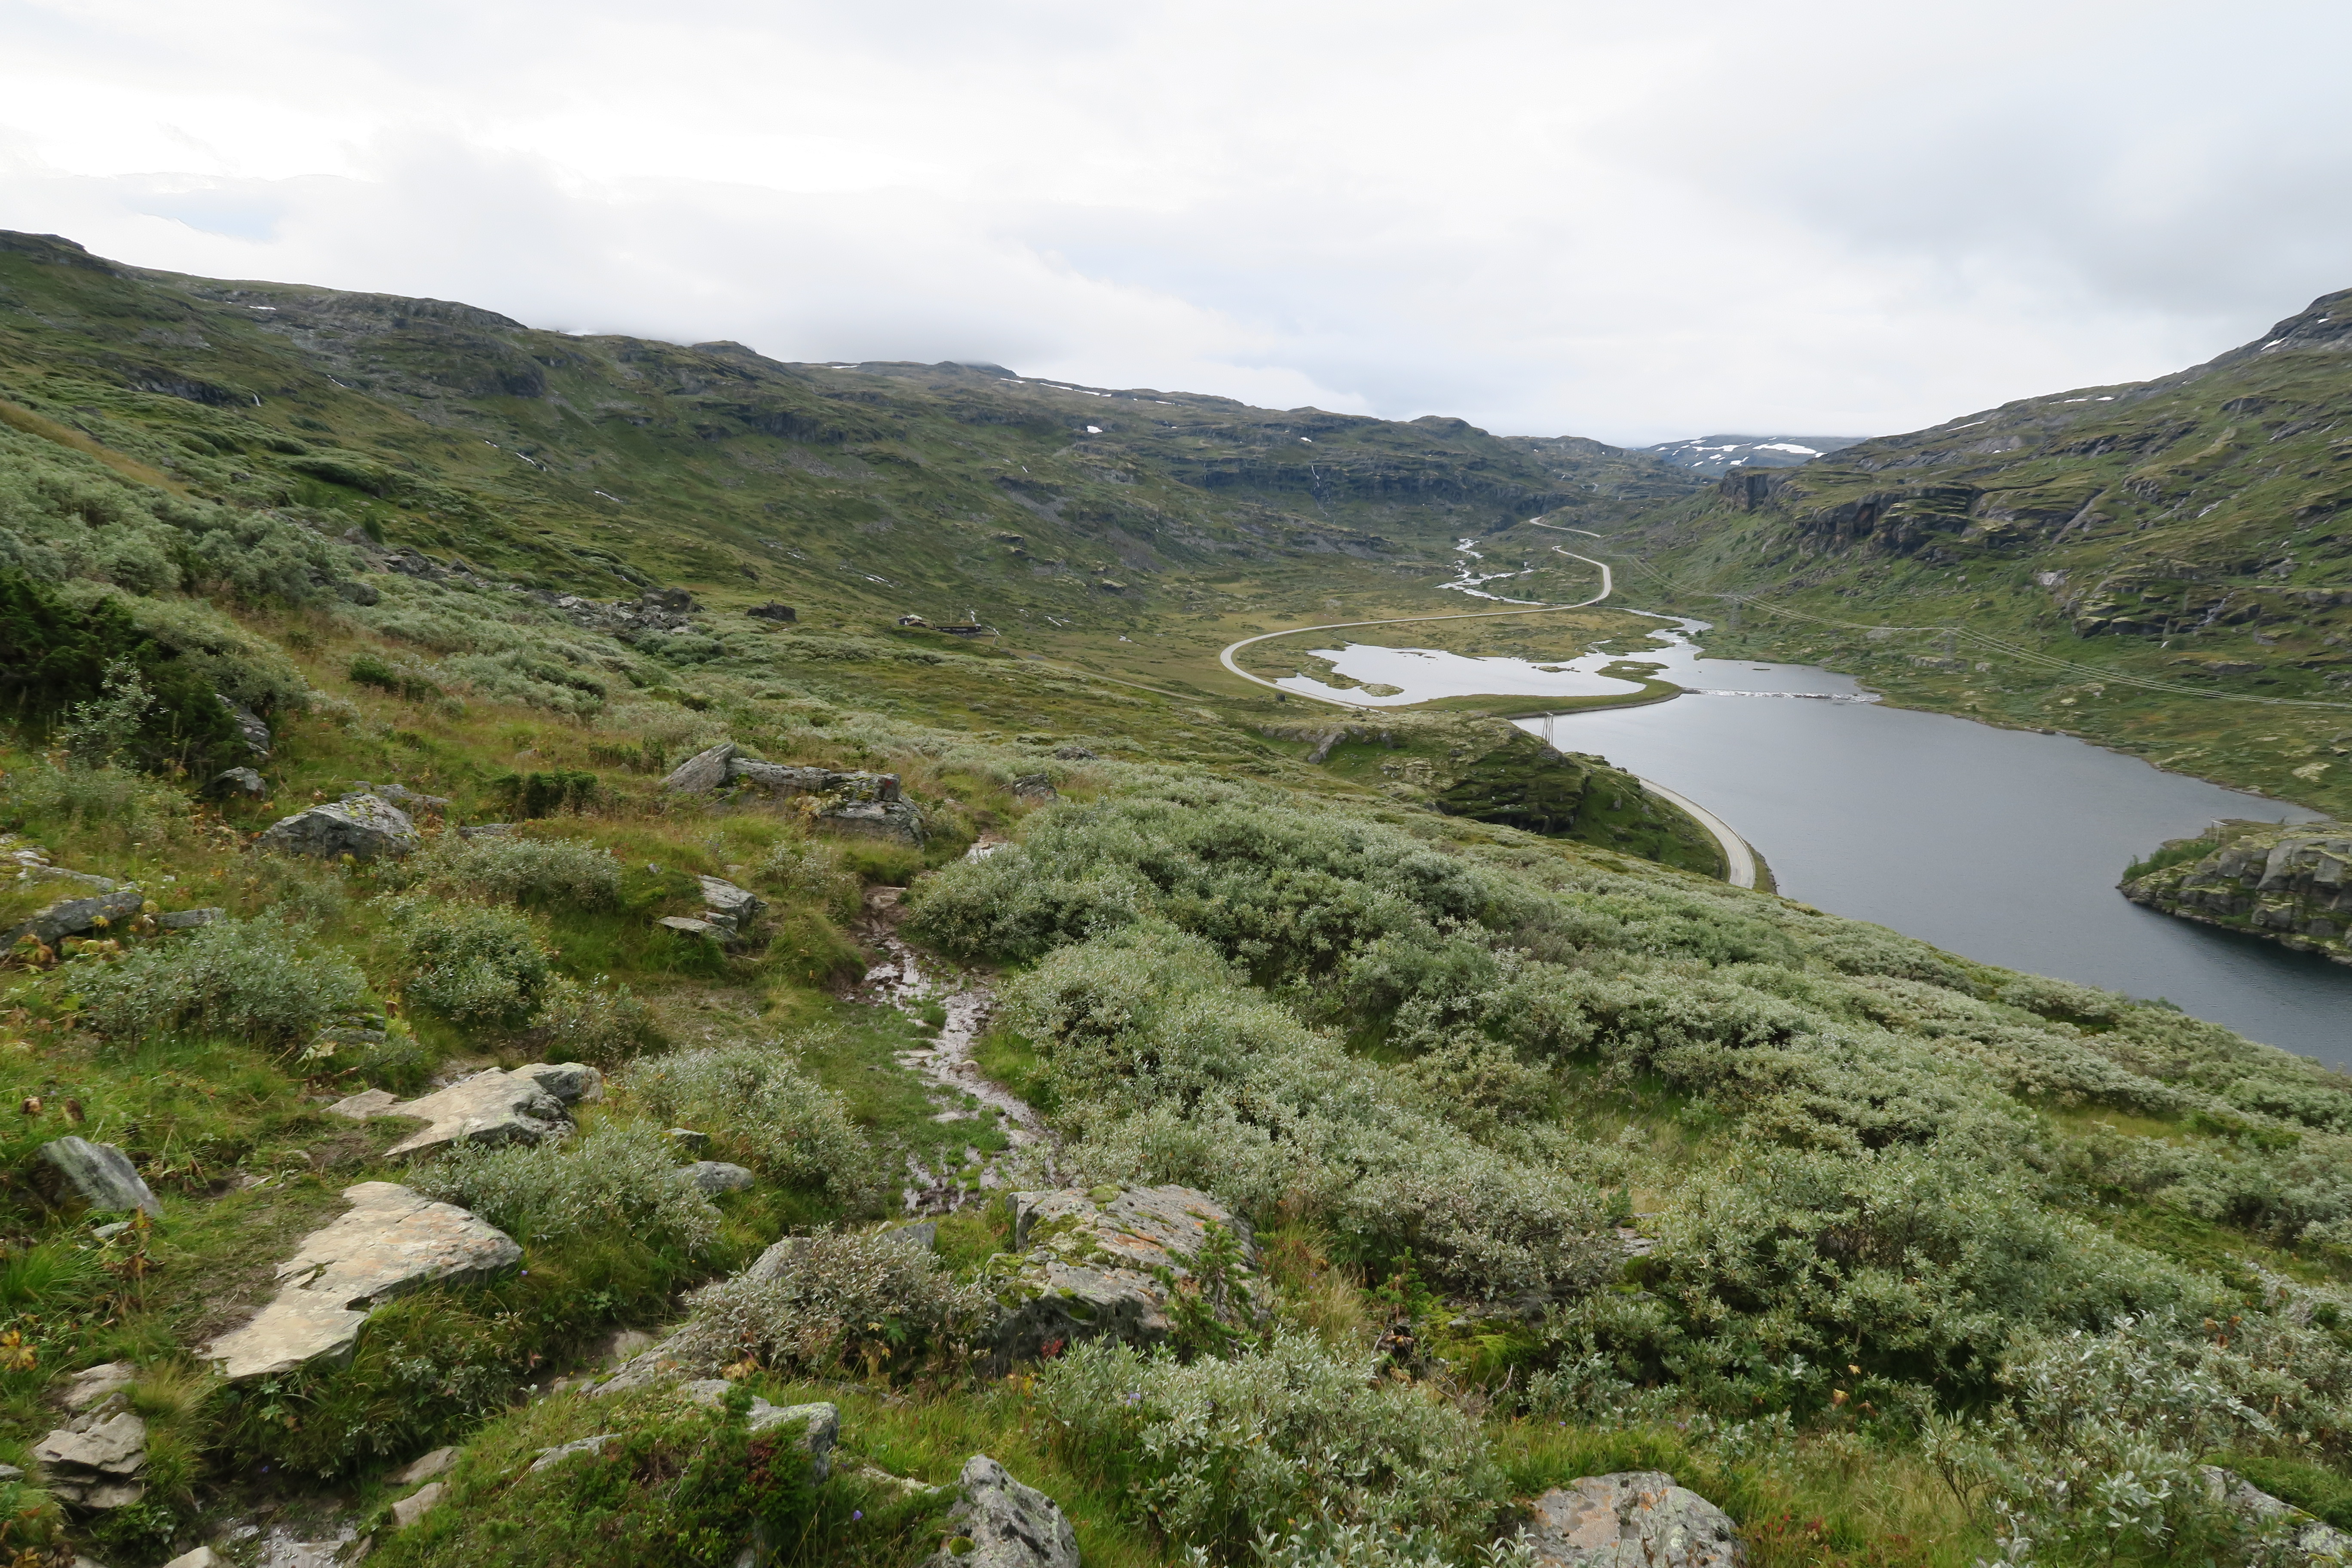 Views on the way to Østerbø.
Day Four
Day four is quite spectacular, taking you through the Aurlandsdalen valley. We found the trail got quite busy from this point on, with tour groups rushing past us with day packs. There are two possible trails to take, the upper trail and the lower trail. When we did the hike, the upper trail was closed due to a landslide. The locals at Østerbø were really helpful in letting us know what parts of the trail were accessible and what path is worth taking. Ask questions wherever you’re staying if you’re not sure what trail you plan on taking.
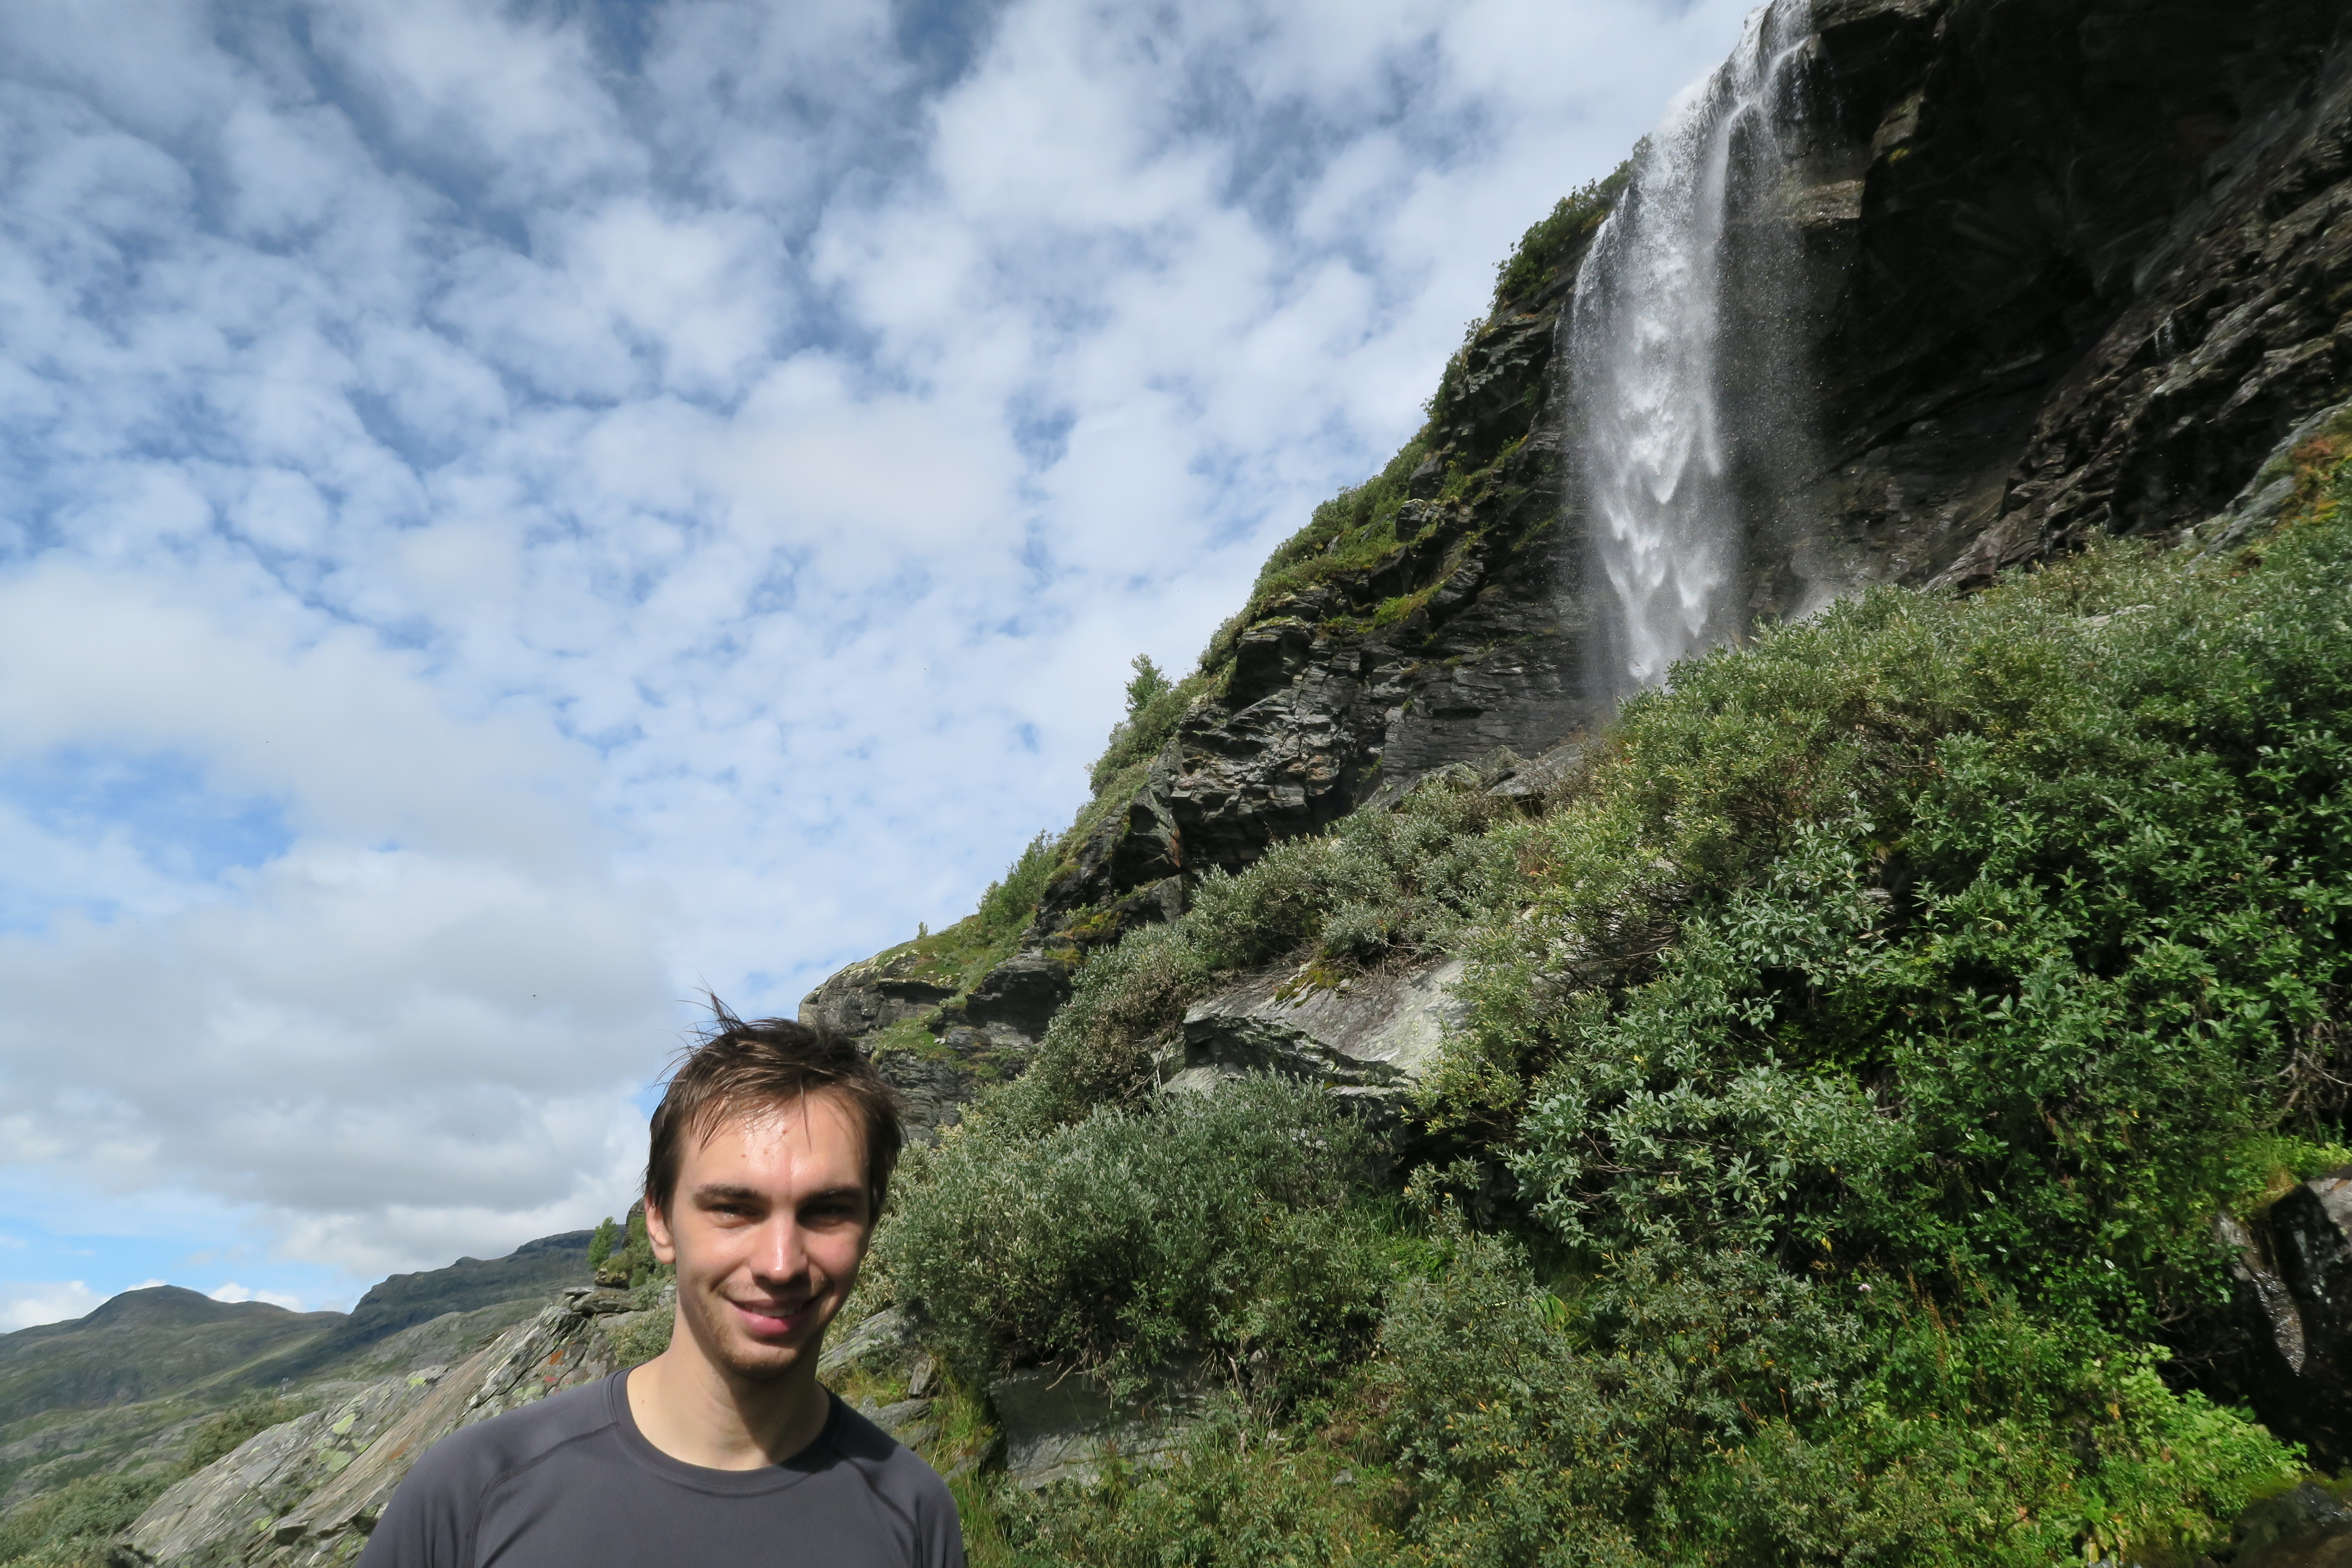 Hiking past waterfalls on day four.
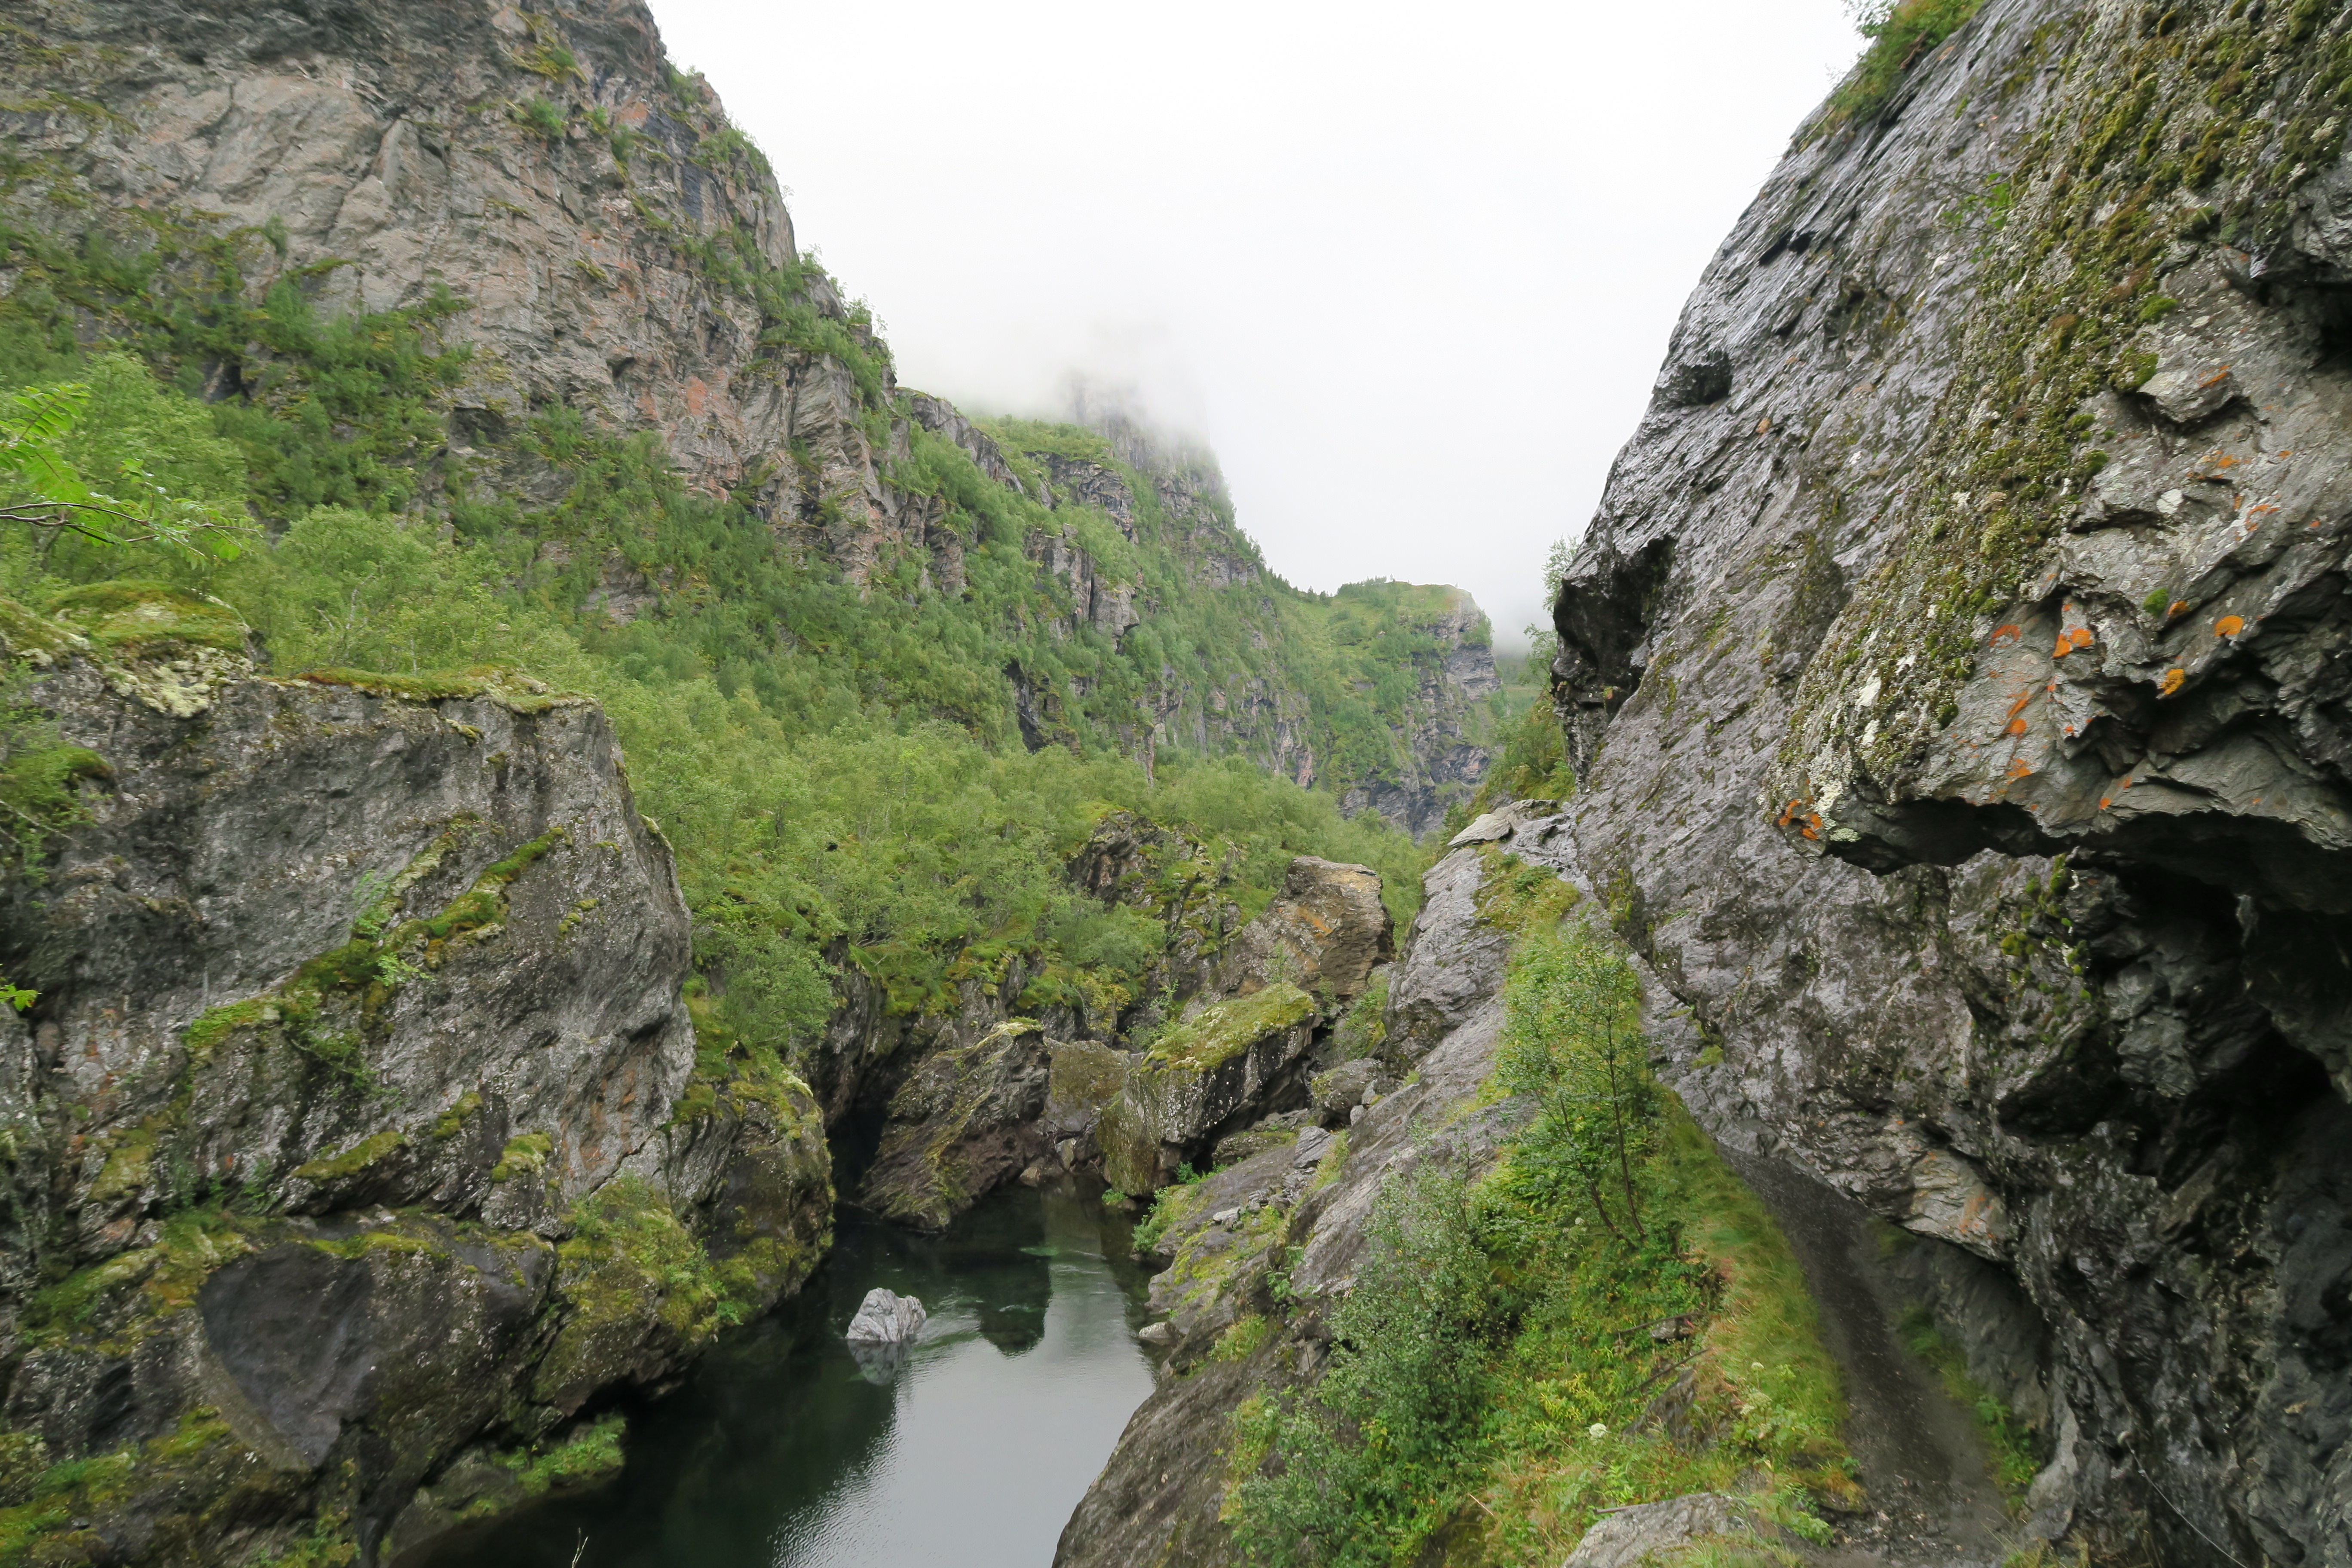 Walking through the valley.
We had no trouble finding the bus stop in Vassbygdi. You’ll hit a paved road, and shortly after you’ll find a bus turn out, with a store selling food and drinks, some public toilets at the back, and a set of benches and tables to sit on. We made sure to leave early on the last day (around 8am), and managed to get in for the mid-afternoon bus.
Flam
The Flåm Hostel in Flåm offers camping grounds if you wish to save a bit of money, and is within walking distance of the bus stop and the train station. On the way out of Flåm, see if you can get a seat on the right hand side of the train.
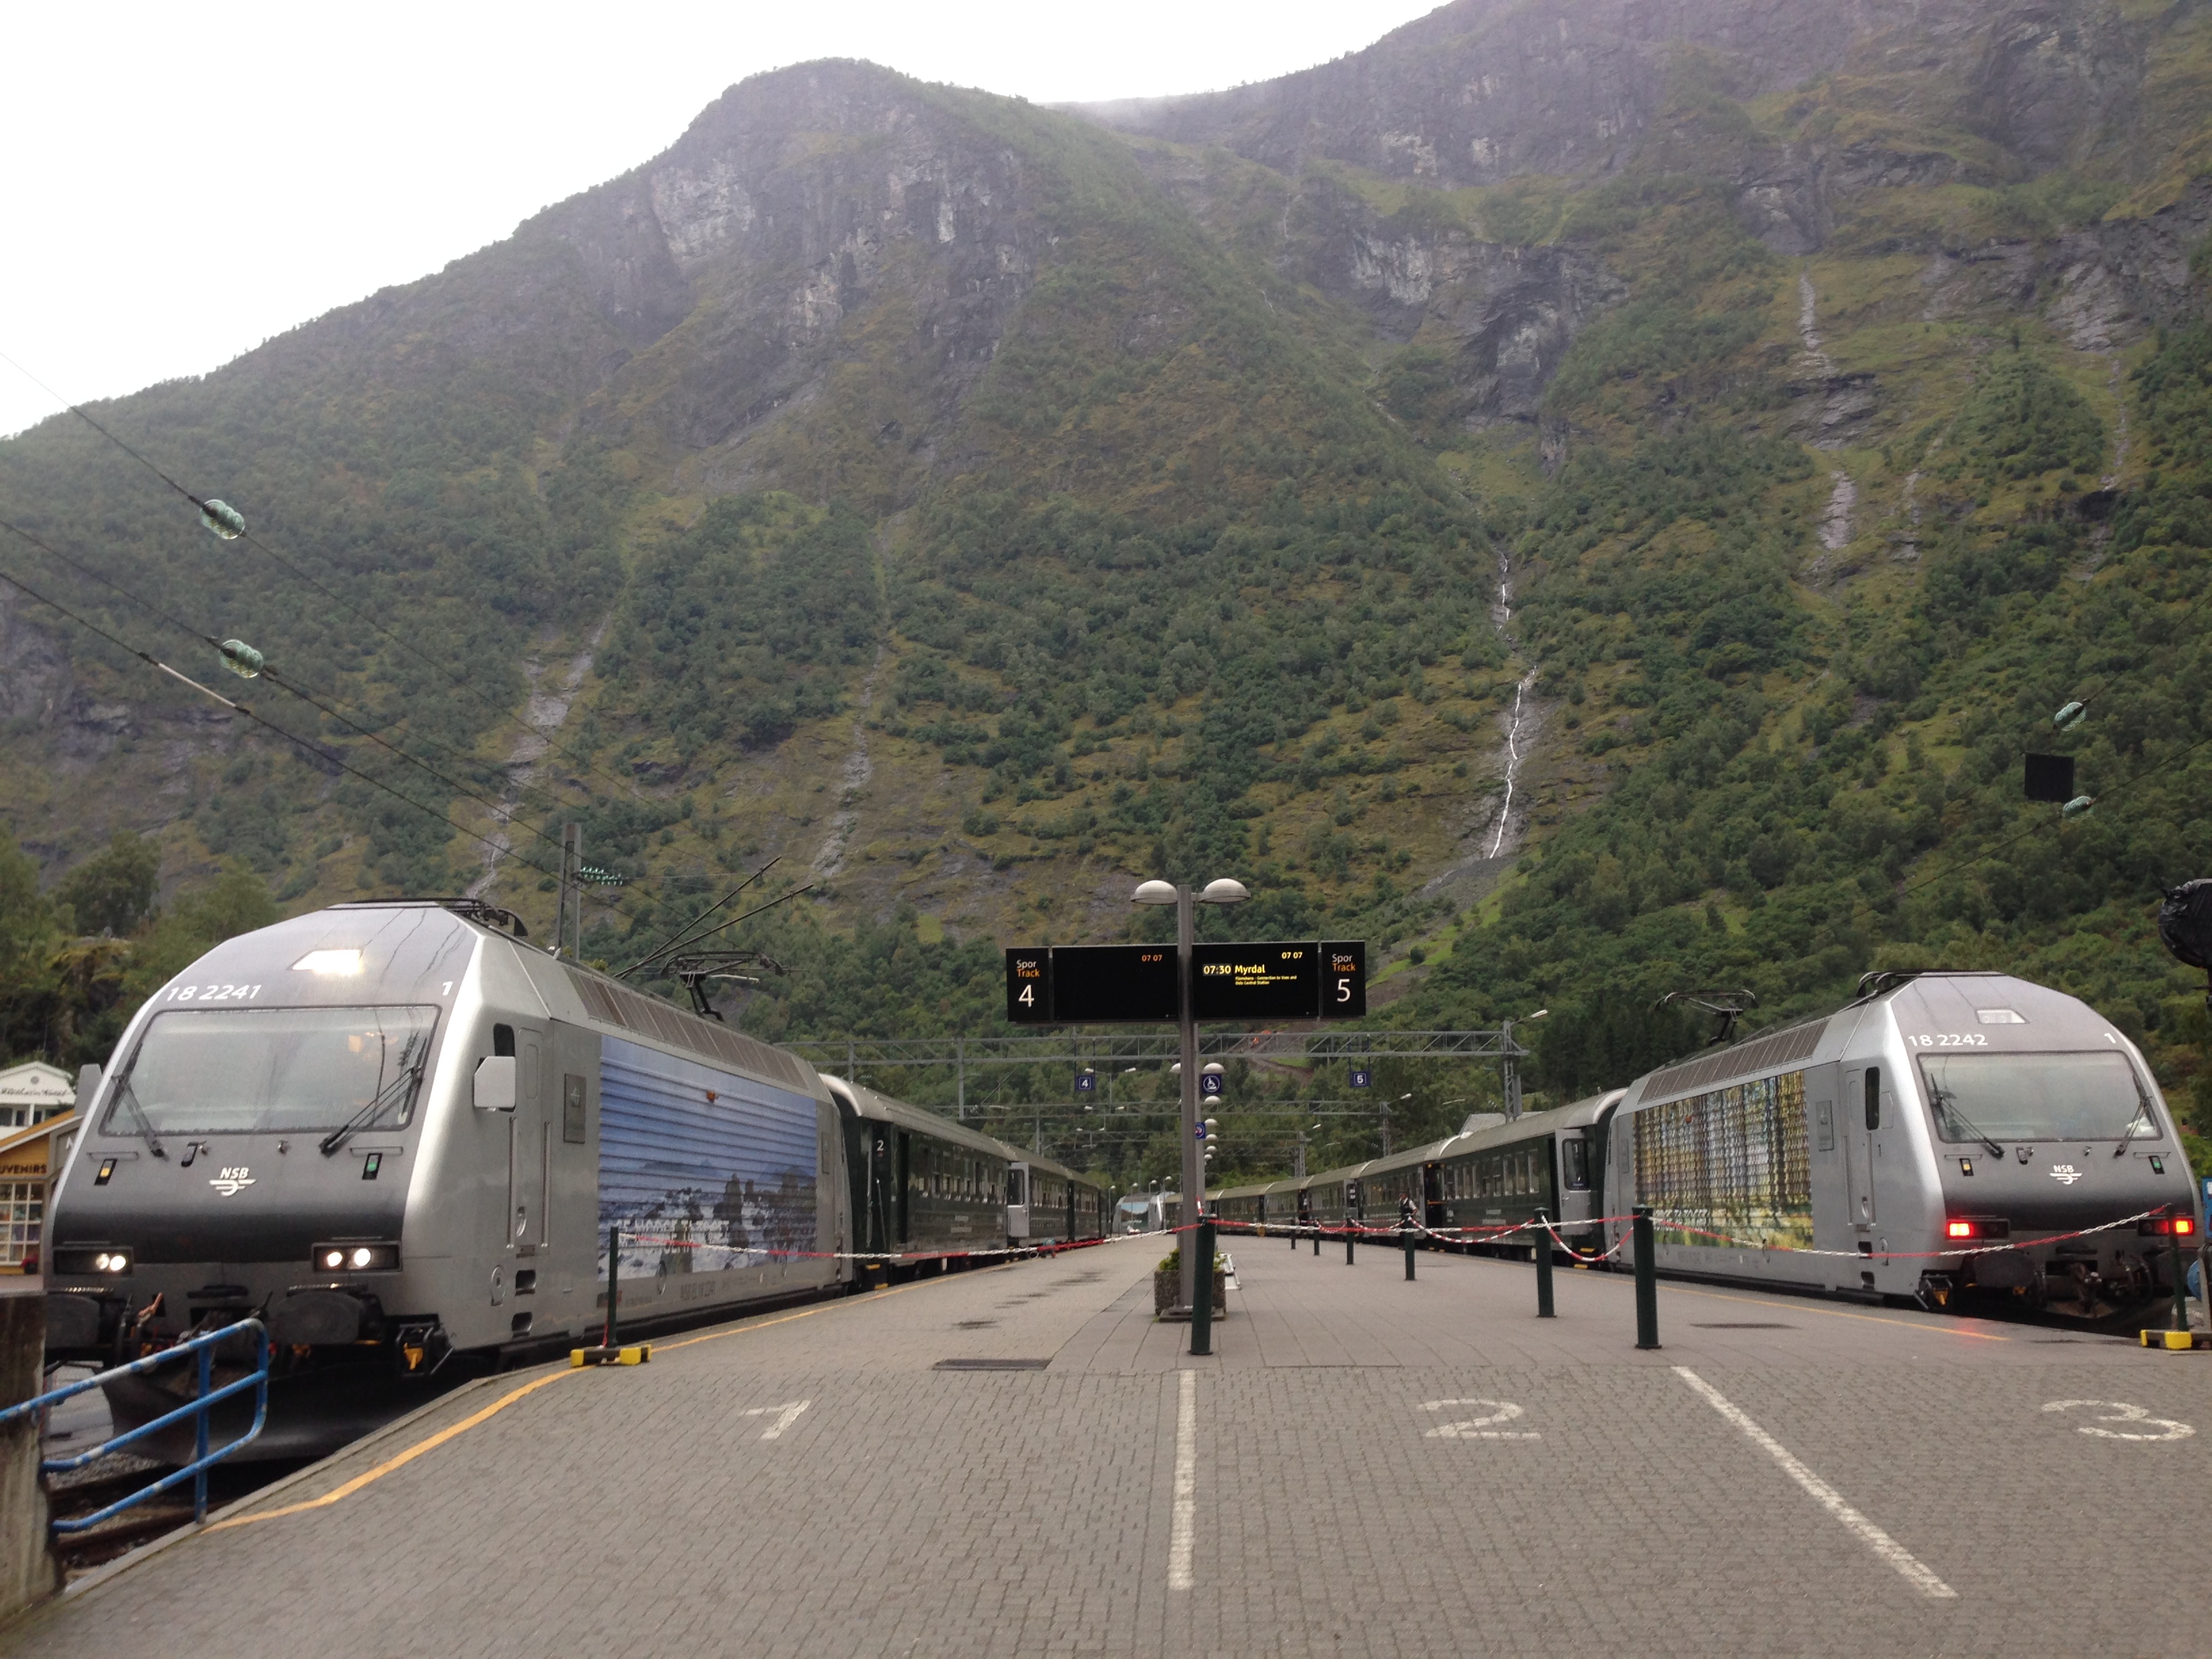 Flam Station.
Thanks to my wife, who did most of the research for this trip.
Happy walking.